Menu Editor Overview
Everything you need to create, edit, and manage your ChowNow menus.
Depending on when you joined ChowNow and your current ChowNow subscription, your menu editor might look a little different. First, determine which Menu Editor version you are currently using—if you are using the Legacy Menu Editor, click here for resources and guides.
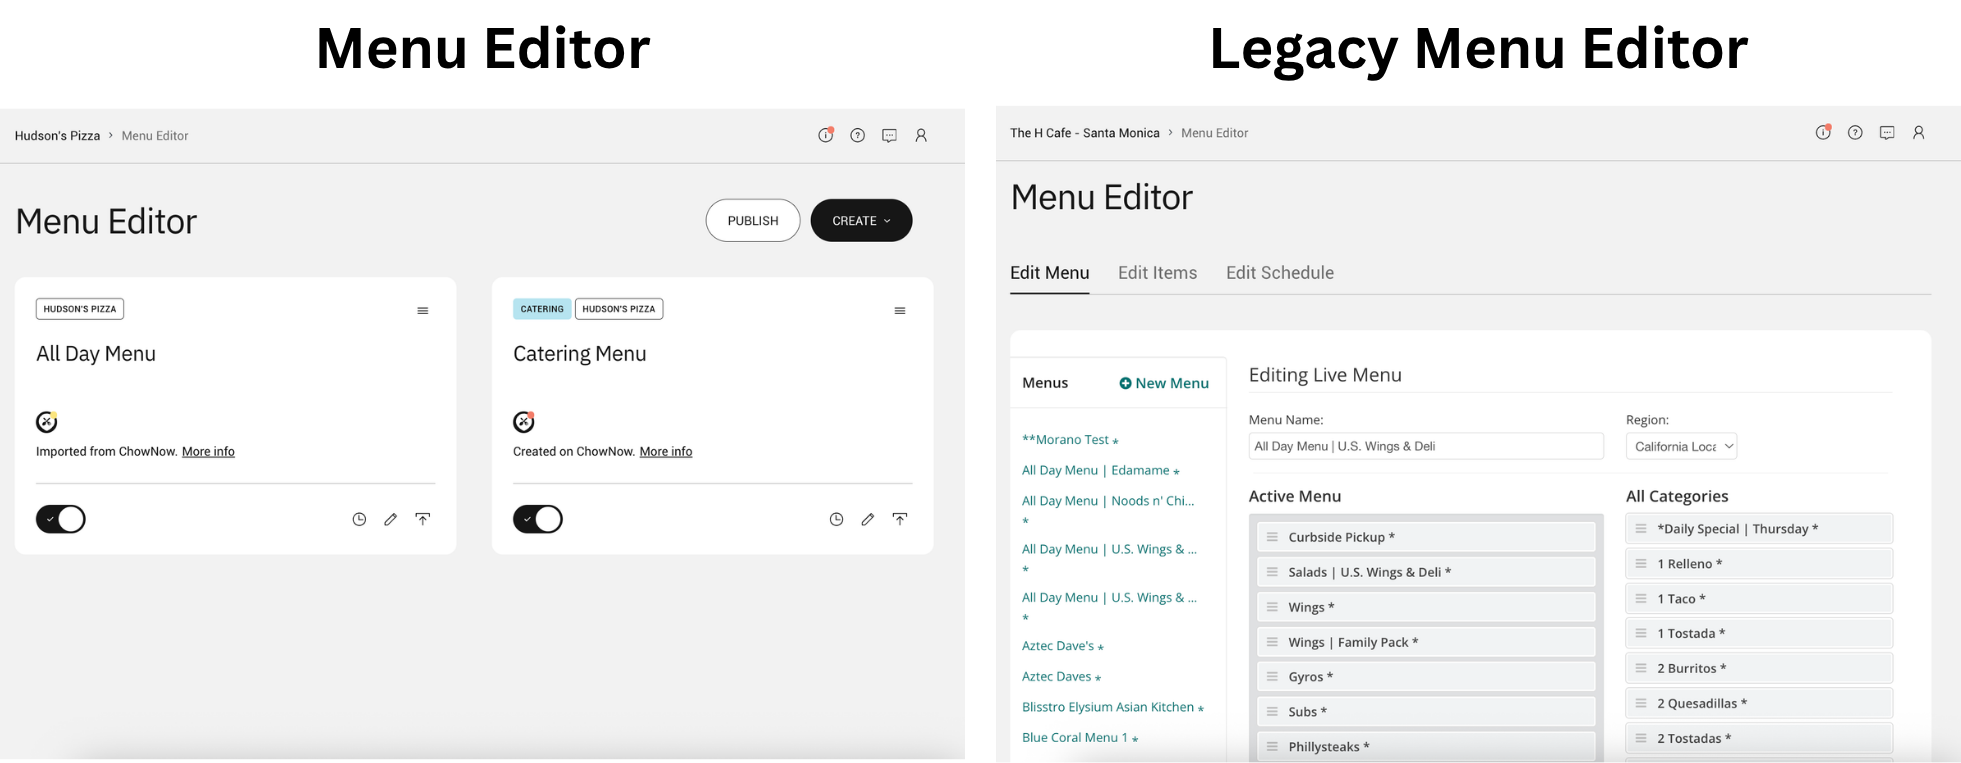
Menu Editor Walkthrough
- Log in to your ChowNow dashboard.
- Click on “Headquarters”, then the name of your location.
- Click on “Menus” then “Menu Editor” on the left sidebar.
Menu Editor Landing Page
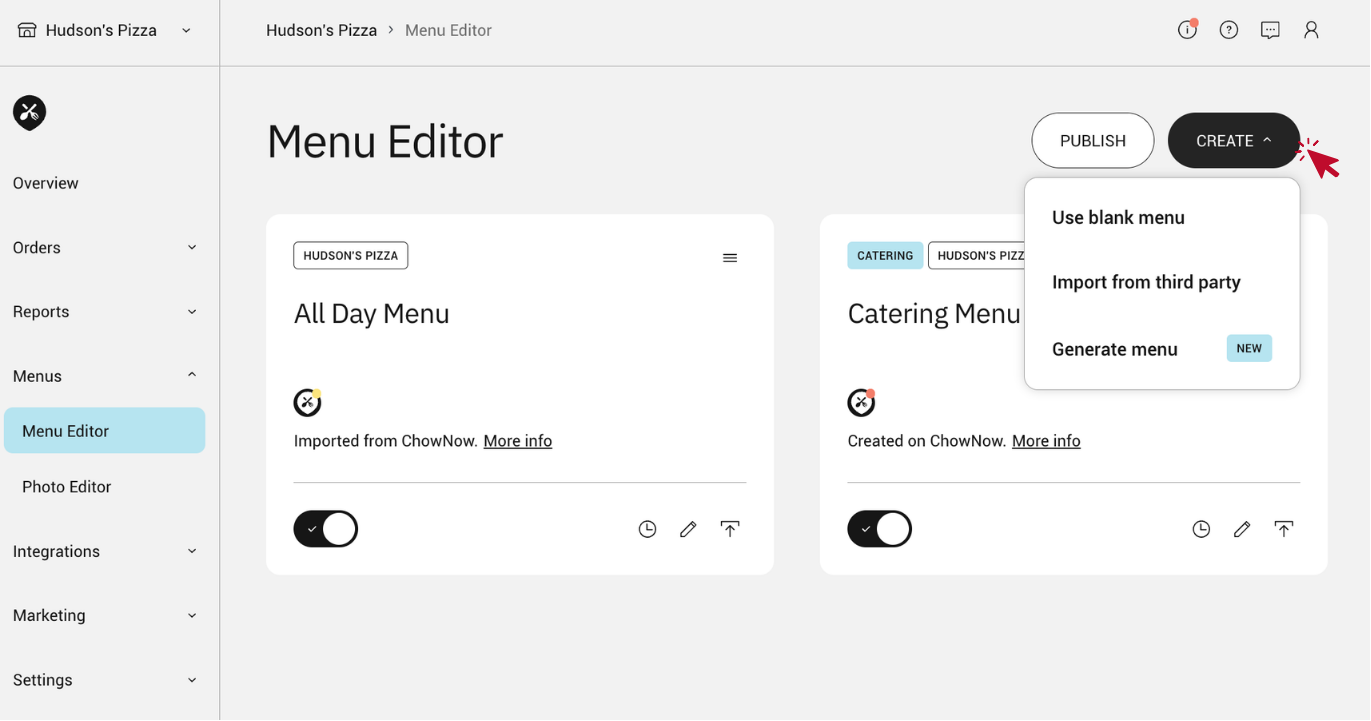
Create New Menu
To create a new menu, click “CREATE” in the upper right corner and select one of three options for creating a new menu—”Use blank menu”, “Import from third party”, or “Generate menu”.
Manage Existing Menu
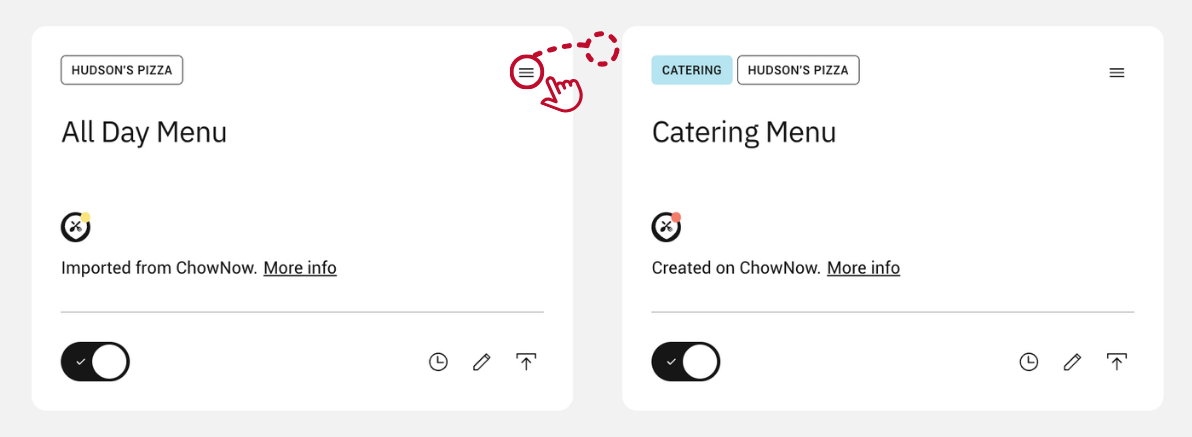
Within an existing menu block:
- Click the three horizontal lines in the upper right corner and drag to rearrange menus.
![]()
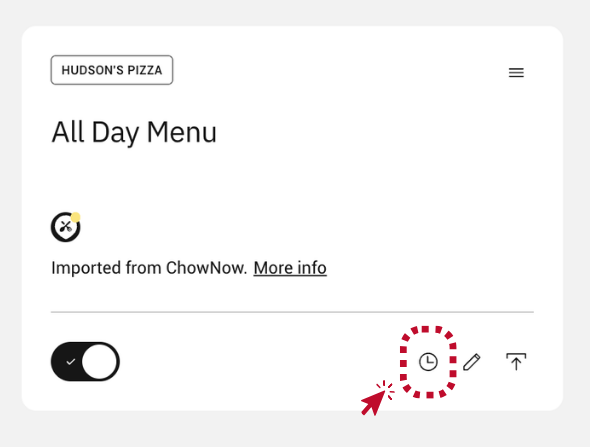
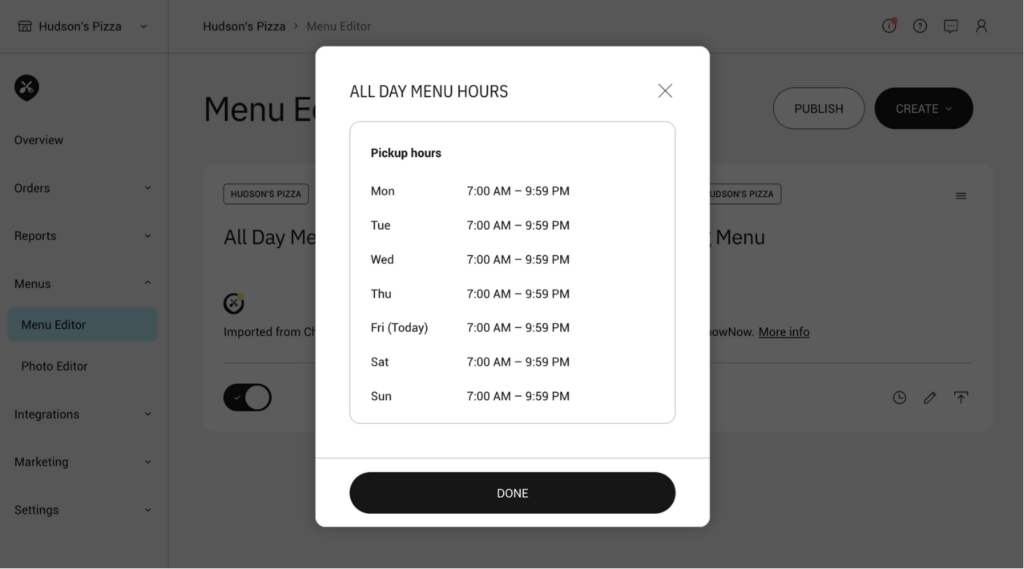
- Click the clock icon to view menu hours.
![]()
![]()
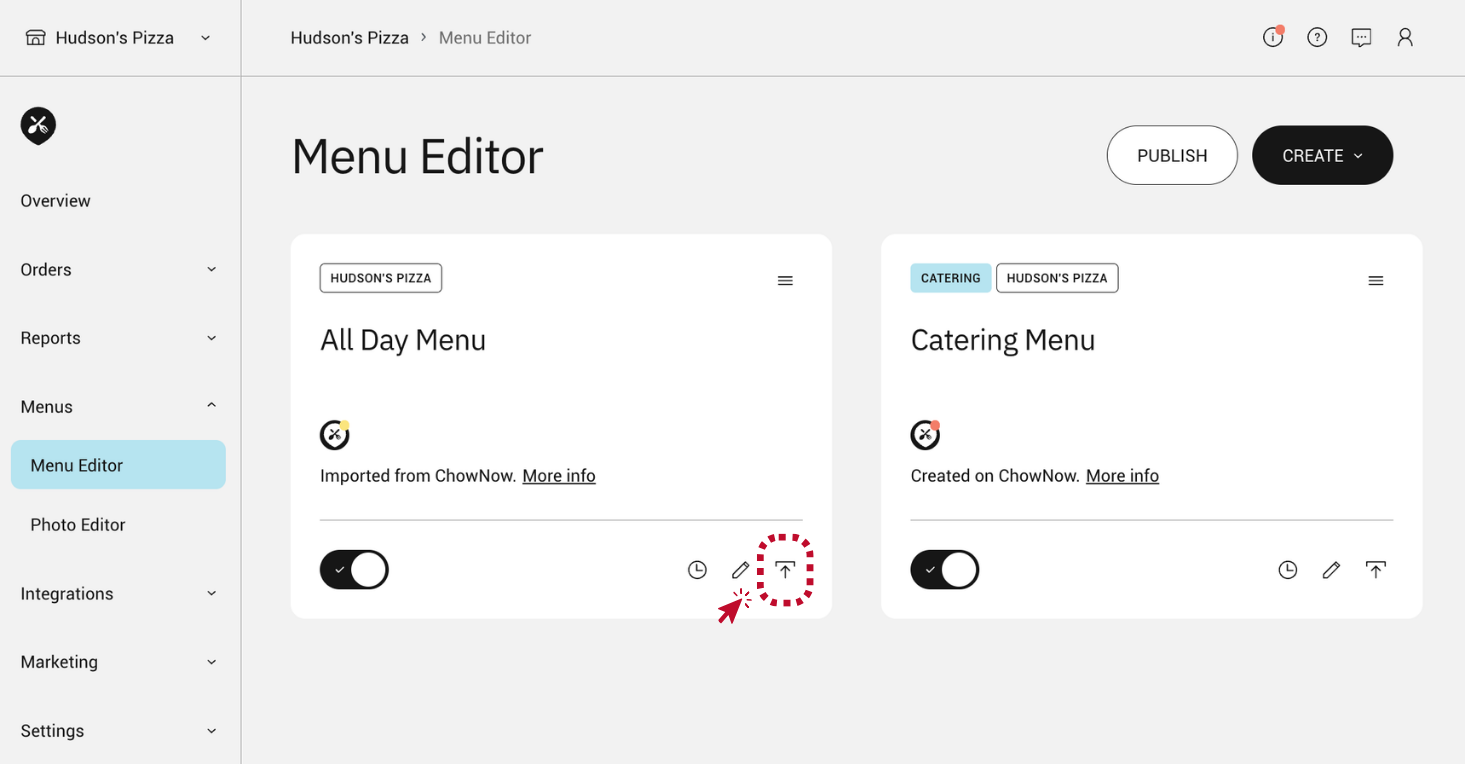
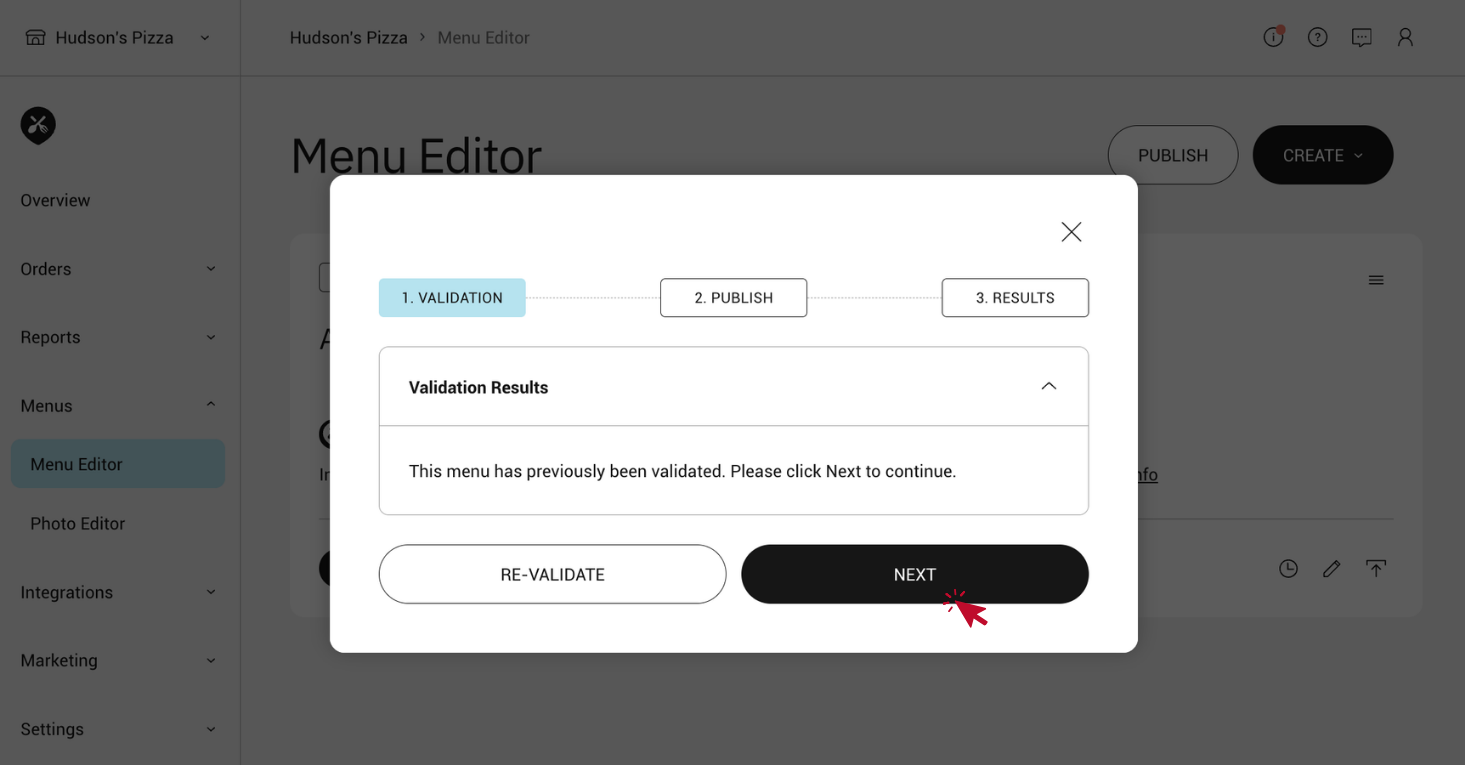
- Click the upload icon to validate and publish a menu.
![]()
![]()
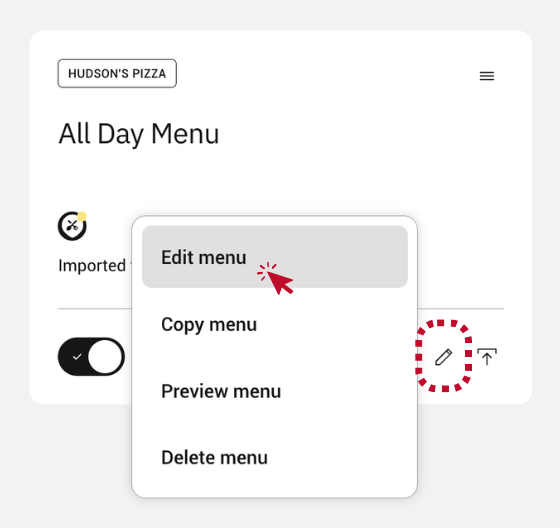
- Click the pencil icon to edit, copy, preview, or delete a menu.
![]()
Edit Menu
Select “Edit menu” from the main Menu Editor page (Menu > Pencil Icon > “Edit menu”).
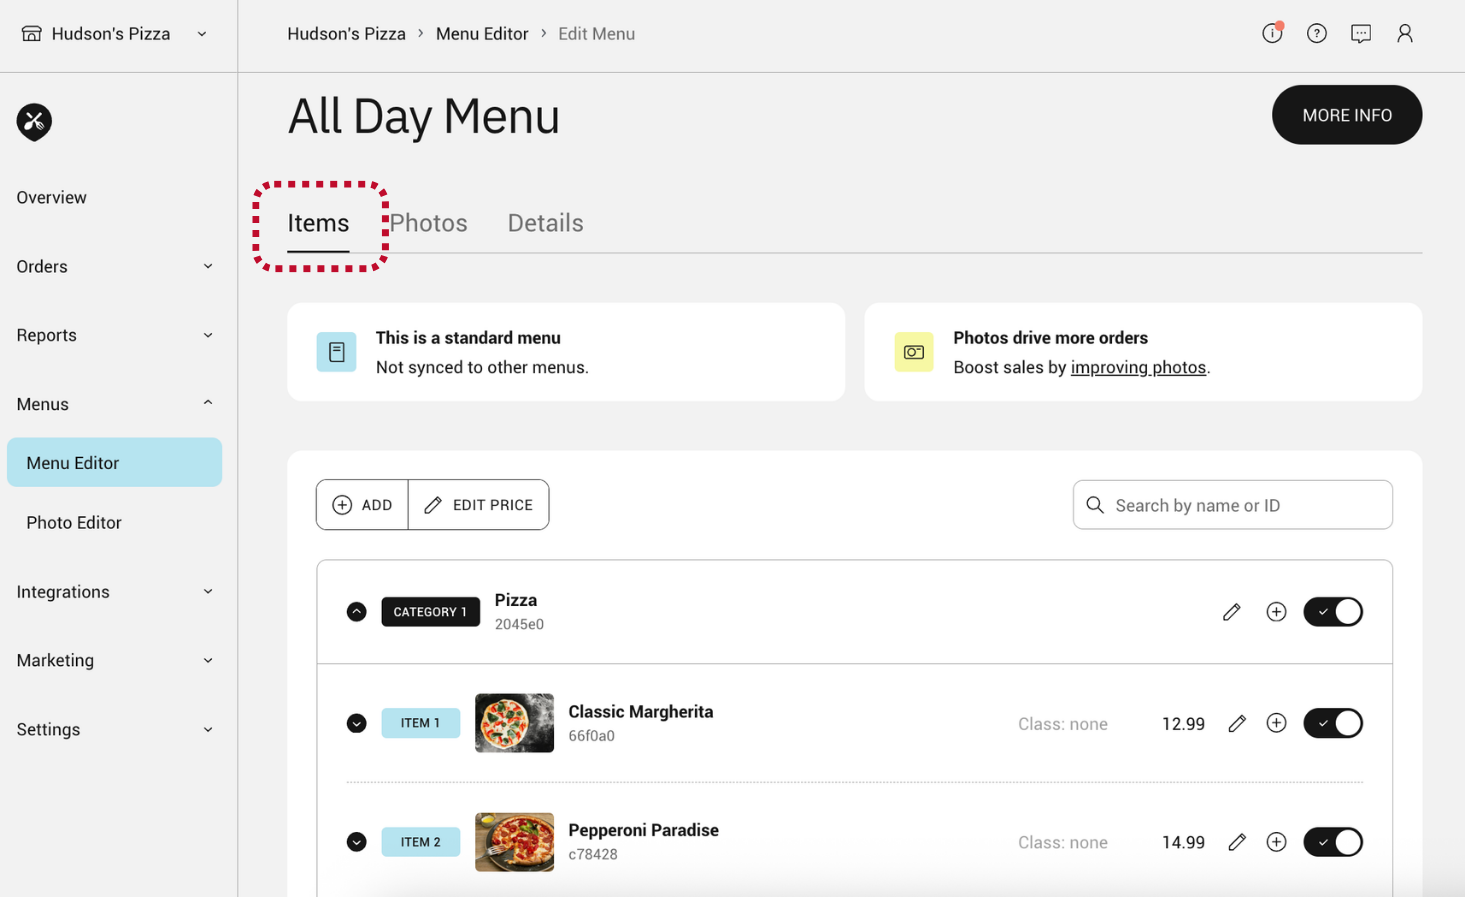
- Items: Navigate to the “Items” tab to add, edit, and manage menu items.
![]()
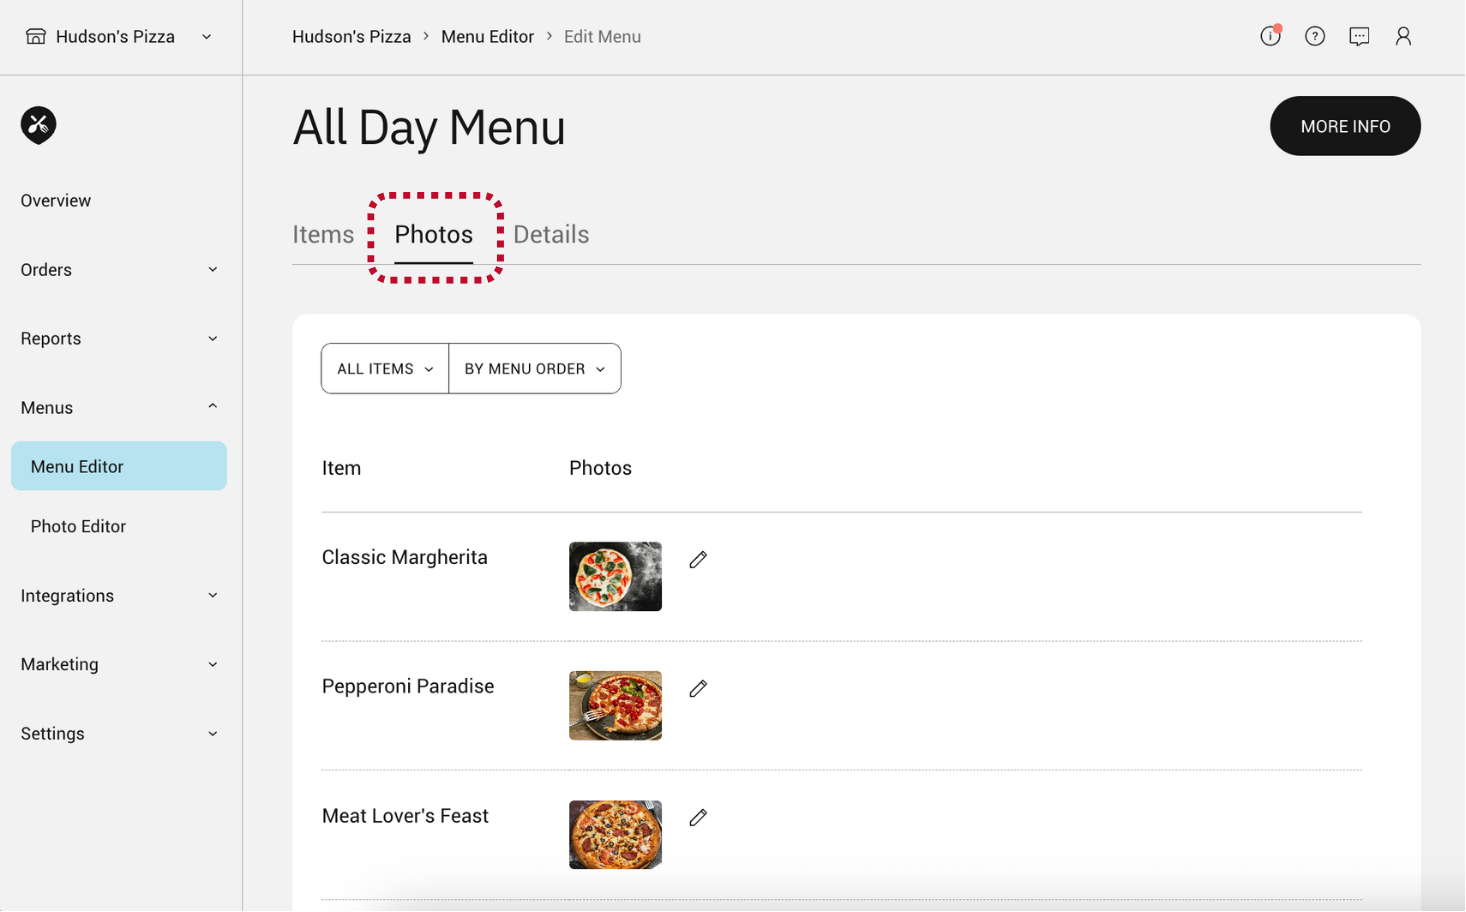
- Photos: Navigate to the “Photos” tab to manage all menu photos.
![]()
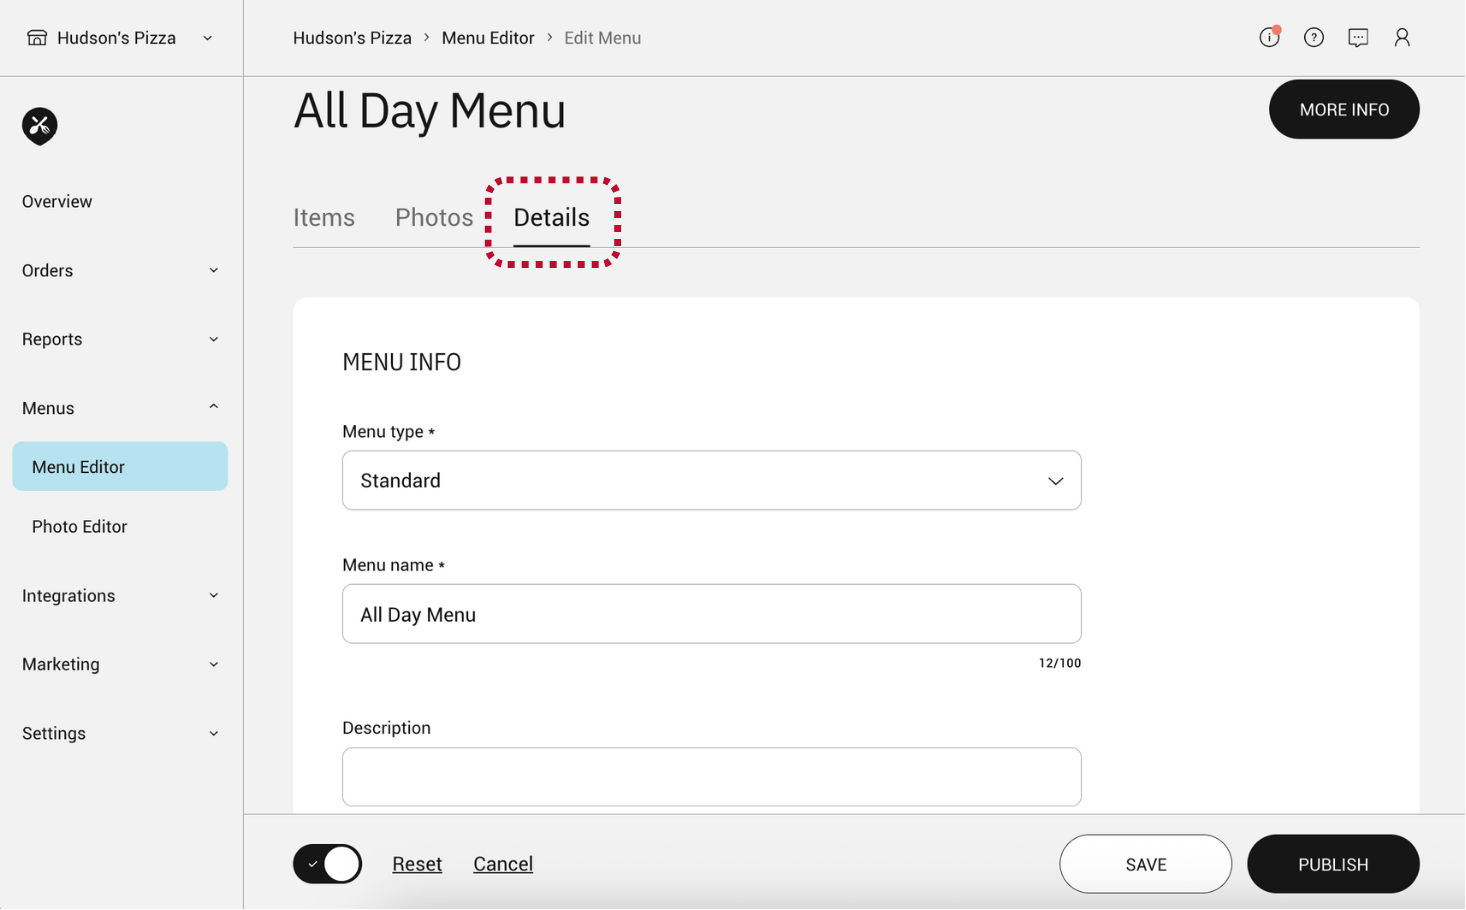
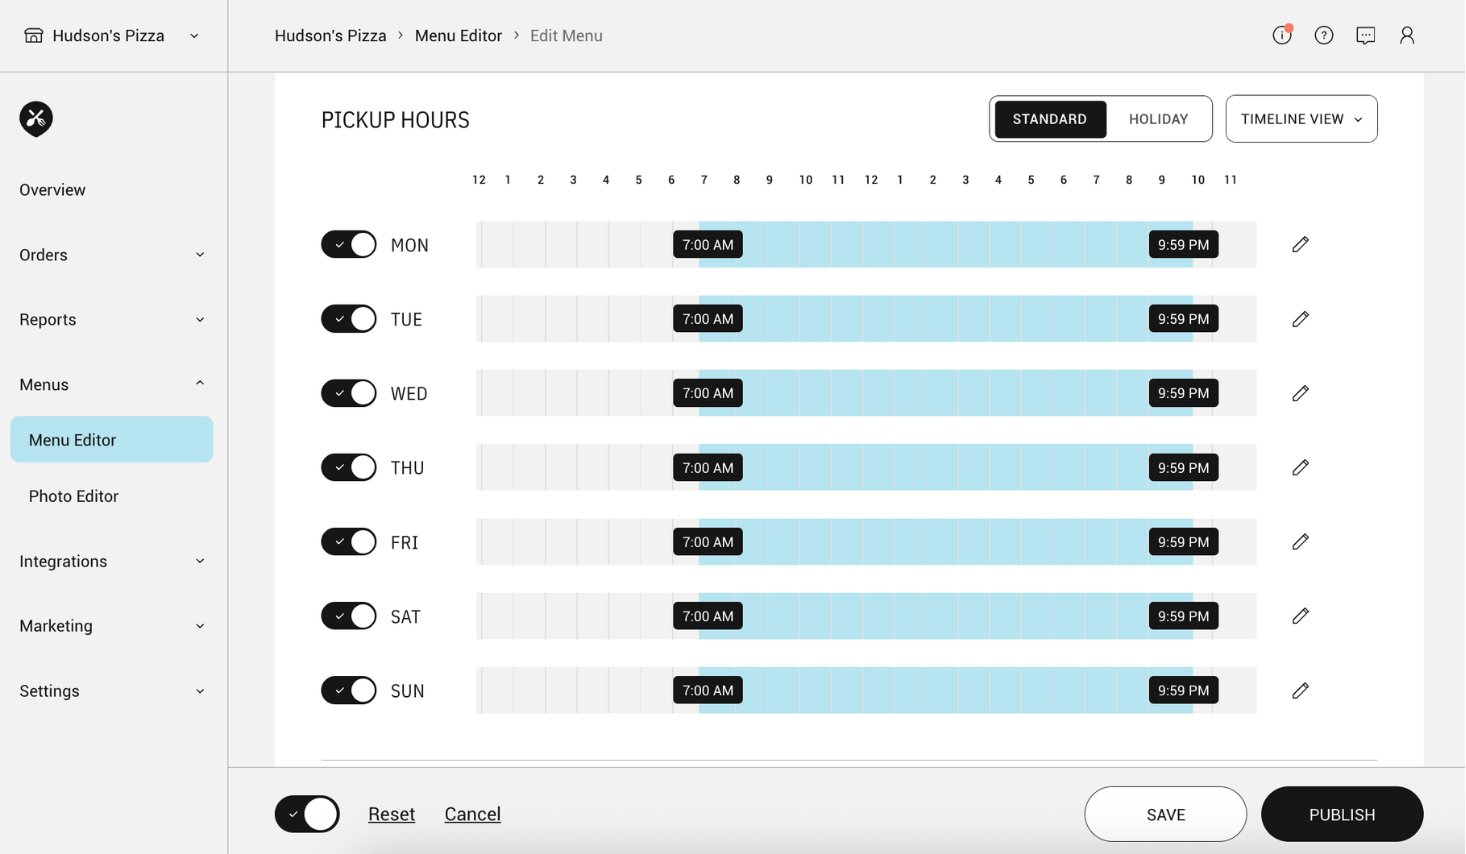
- Details: Navigate to the “Details” tab to edit details like menu hours, default tax rate, and integrations.
![]()
![]()
Menu Editor Guides
Manage Menus
- Create or Import Menus
- Publish Menus
- Preview Menus
- Update Menu Hours and Holiday Hours
- Add or Edit Menu Categories
- Add a Menu Disclaimer
Manage Menu Items
- 86 Items
- Add New Menu Items
- Add New Items using POS Refresh
- Edit Existing Menu Items
- Rearrange Menu Items
- Set Custom Sales Tax
- Add or Edit Menu Categories
- Add or Edit Modifiers
- Add or Edit Modifier Groups
- Update Menu Prices
- Bulk Price Updates
- Add News Items with POS Refresh