How to add or edit Menu Items
Your menu items exist within categories. Categories are typically the main type of dish a customer is ordering, such as “Pizza”, “Burgers”, or “Desserts”. Inside a menu item, you’ll often have modifier groups and modifiers.
Note: If you are using a menu sourced from your POS system, please refer to Adding new items or modifiers using POS Refresh article instead.
Adding a new menu item
- Click on the plus sign icon to the right of a category name.

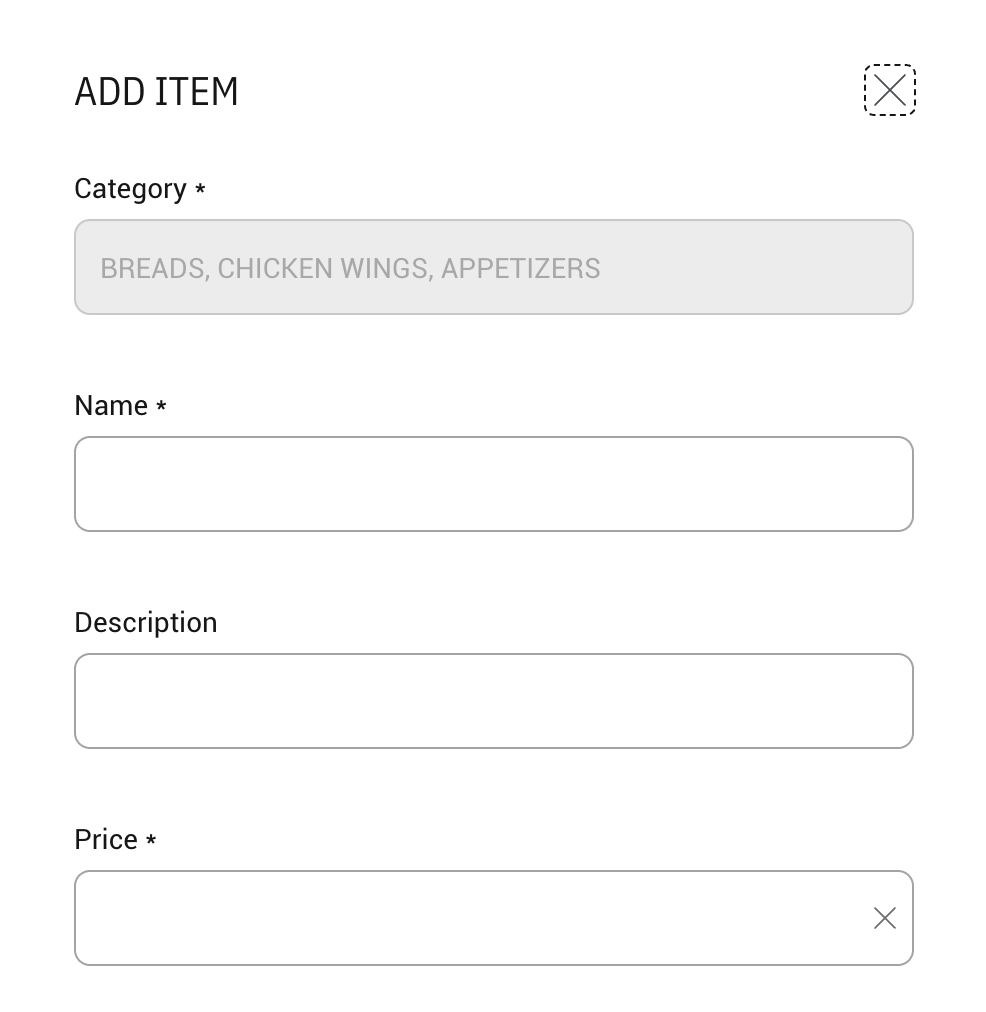
- Input your item name, description, and price.
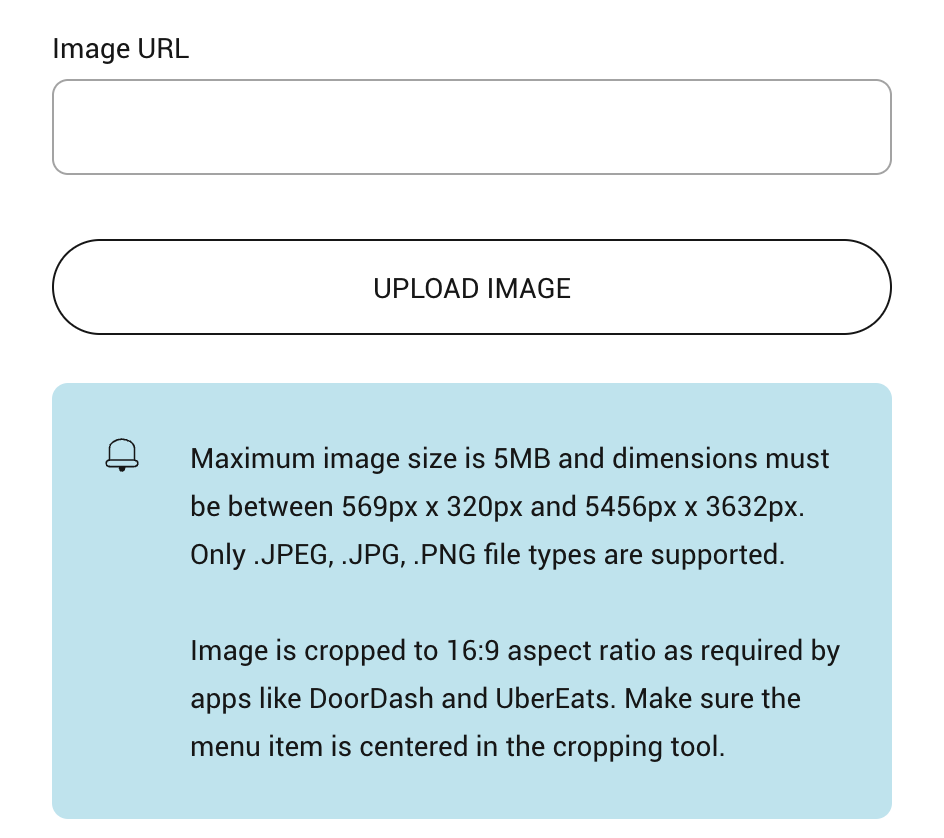
- If you’d like to add a photo, you can add a link from an online photo or import one directly from your device.
- Add classifications if required. Note: Some online ordering platforms have strict requirements around alcoholic items. If your item contains alcohol, make sure to tag it using the Classifications field.
- Click SAVE.
Editing a menu item
- Click on the edit icon to the right of your item name and select Edit Item.
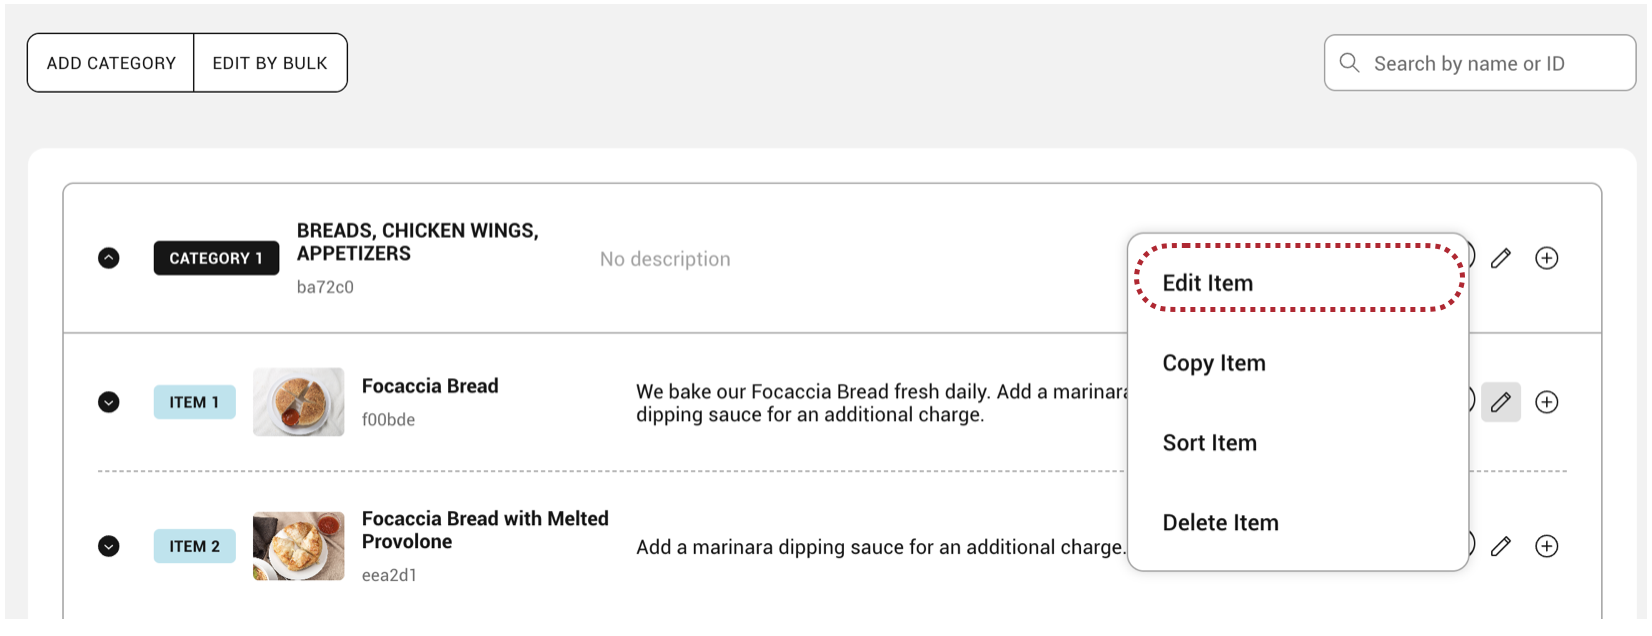
- Adjust the item’s Name, Description, Category, Price, Modifier Groups, Image or Classifications.
- Click SAVE.
Copying a menu item
- Click on the edit icon to the right of your item name and select Copy Item.
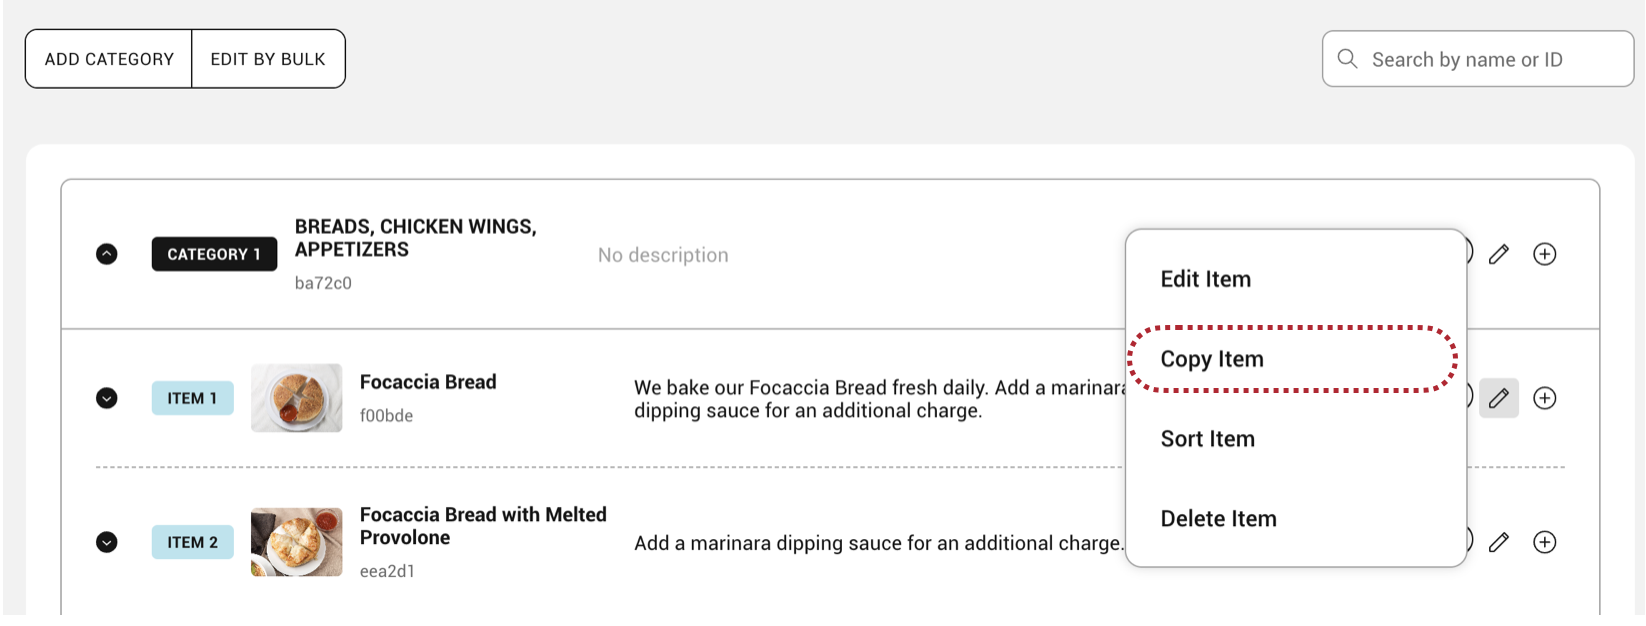
- Select the Target Merchant, Target Menu, Target Category, and click SAVE.
Sorting a menu item
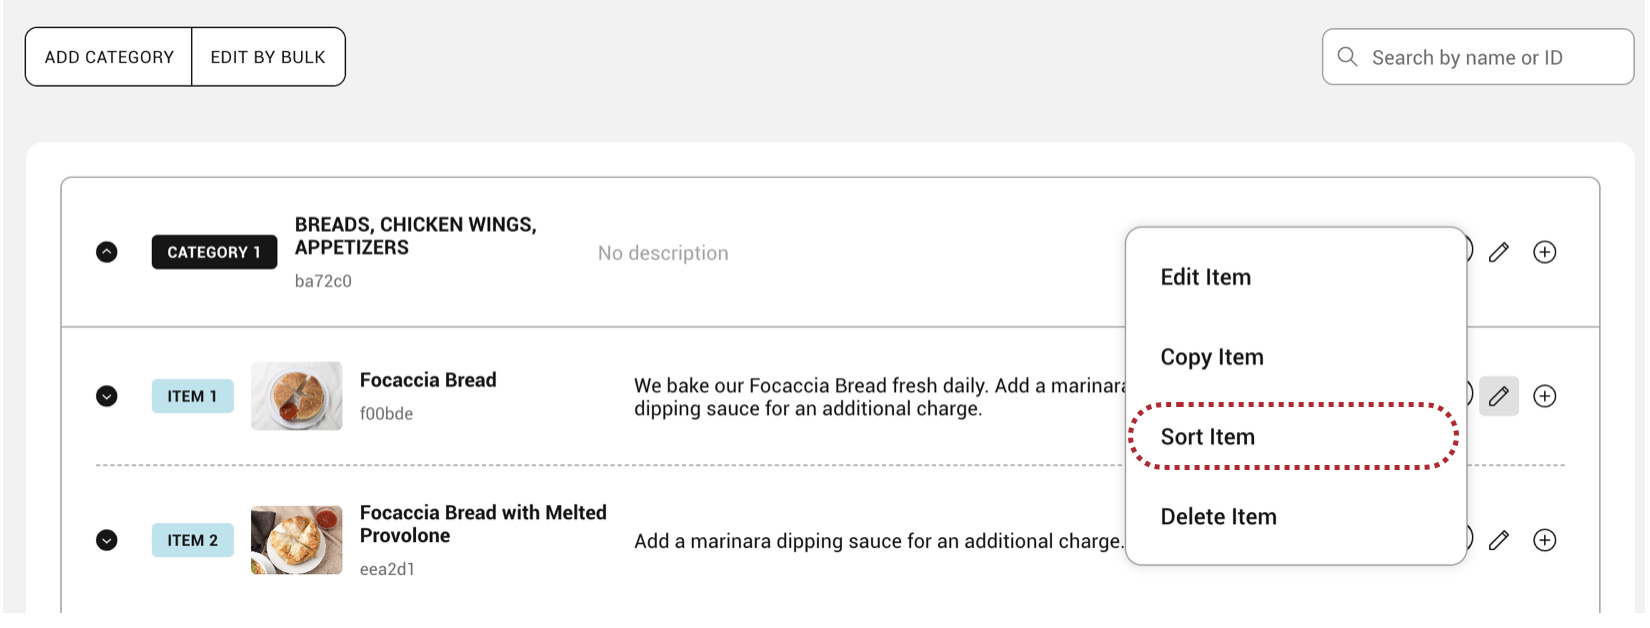
- Click on the edit icon to the right of your item name and select Sort Item.
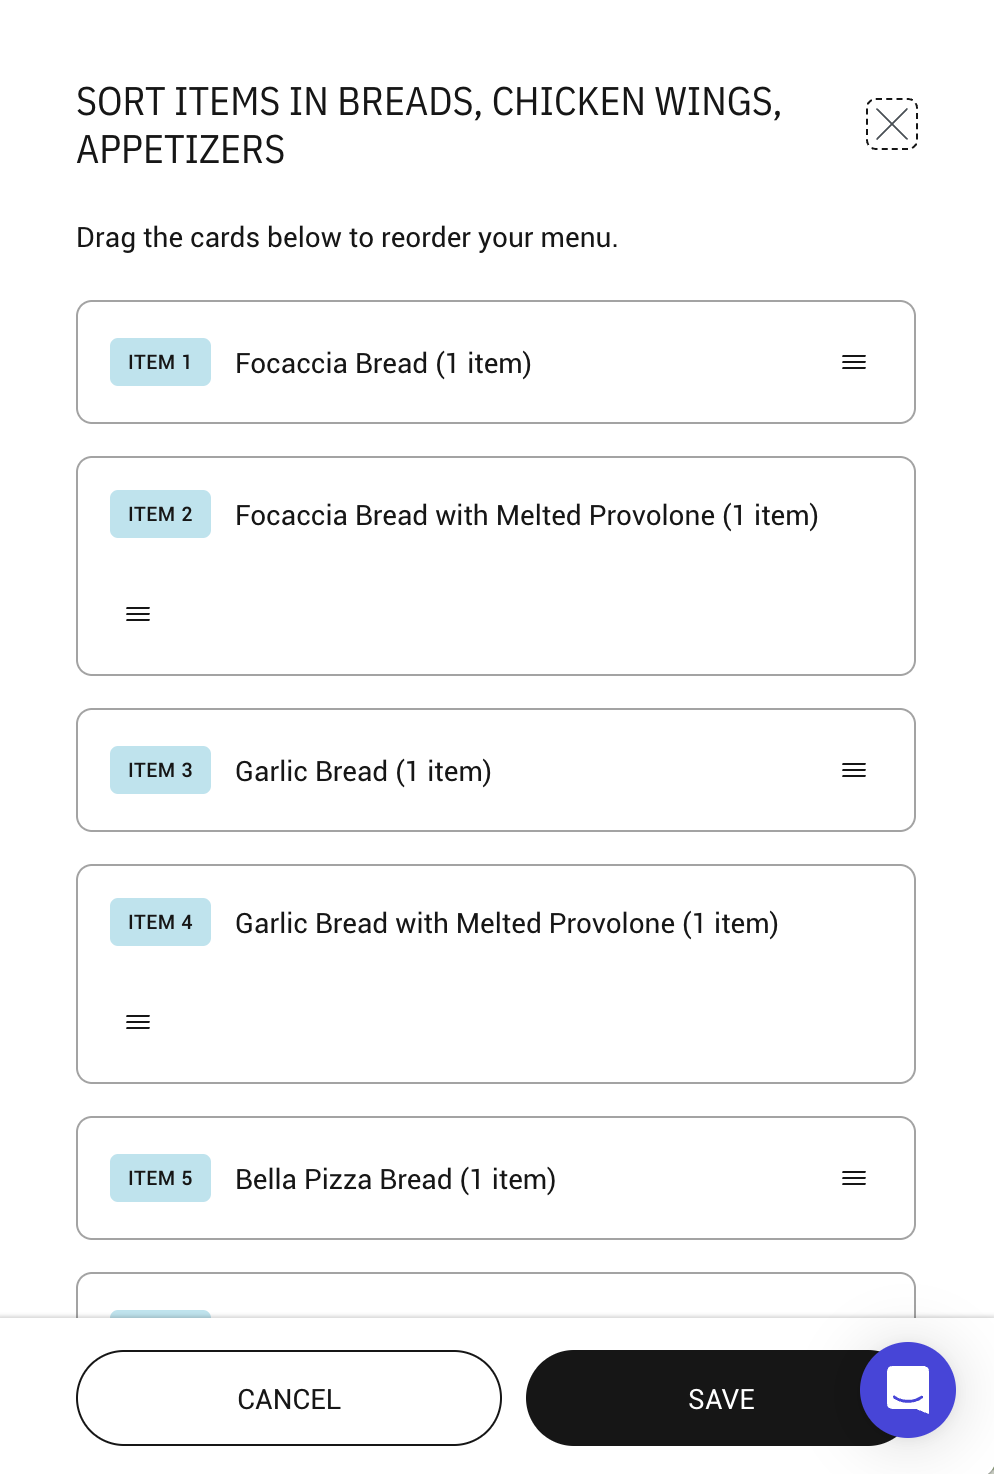
- Drag the item cards to reorder your menu, and click SAVE.
Enabling/Disabling a menu item
You can quickly hide a menu item from the diner facing menu across all platforms by toggling the switch next to each menu component. To re-enable, just toggle the switch back.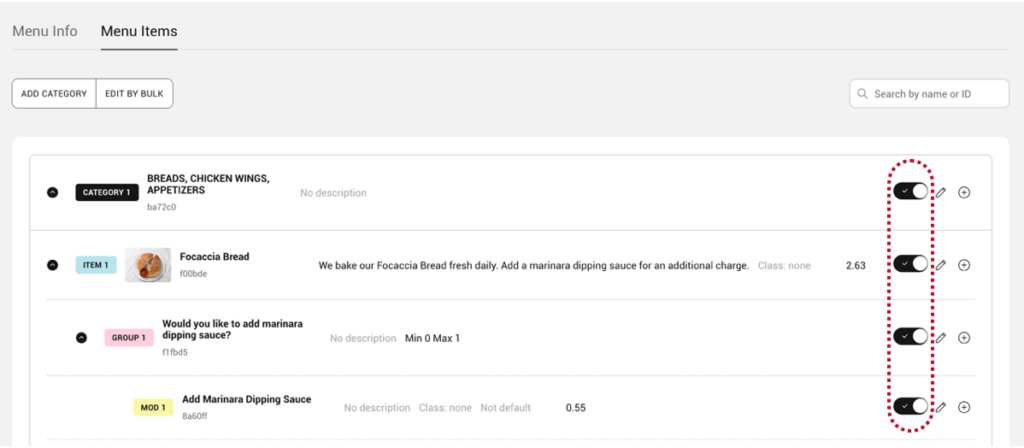
Deleting a menu item
If you want to permanently remove an item from your menu:
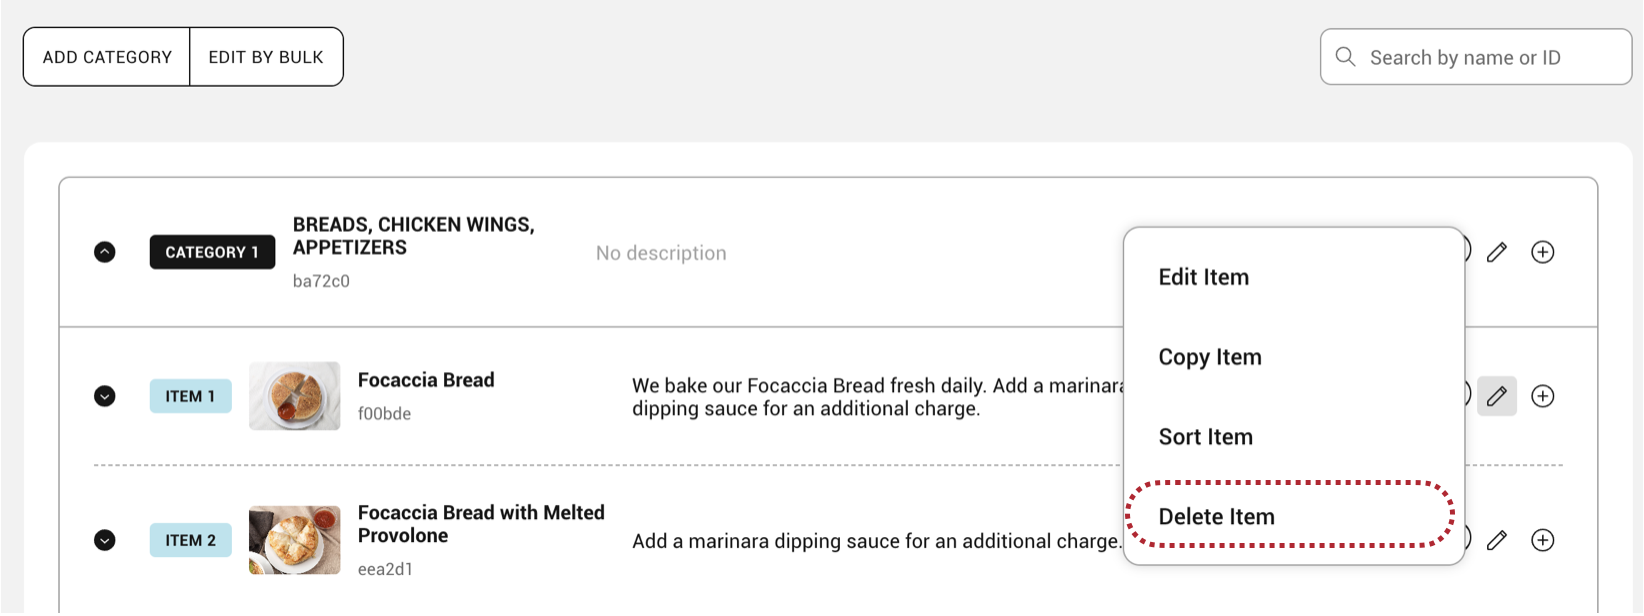
- Click on the edit icon to the right of your item name and select Delete Item.
- Click Confirm.