How do I manage Order with Google?
In this Article:
Overview
Order with Google allows diners to easily place orders when using Google Search and Maps. This means customers already searching for food on Google can find and order in just a few taps.
The Order with Google integration is an add-on feature that links up to your Business Profile and allows customers to click an “Order Online” button placed prominently on your profile to help you reach new customers and generate additional revenue. This feature is also included as part of ChowNow’s Order Better Network. Check out the steps below to set it up.
Getting Started
To enable Order with Google, check that you have:
- Order Better Network enabled for each location (If you don’t have this enabled or unsure if you do, please reach out to our Support team for assistance)
- A Google Business Profile. If you don’t have a Google Business Profile, sign up for free here. If you have multiple locations, we recommend connecting every location to the same Google account.
Designating a Preferred Partner
If you want to encourage diners to choose a specific ordering option that works best for your restaurant, Google gives you the ability to set a partner as “Preferred by Business”.
As you know, not all ordering platforms are created equal, so setting ChowNow as the ‘Preferred Provider’ is a great way to increase the visibility of your ChowNow menu and save you thousands of dollars in commission fees from other ordering platforms.
Step by Step Instructions
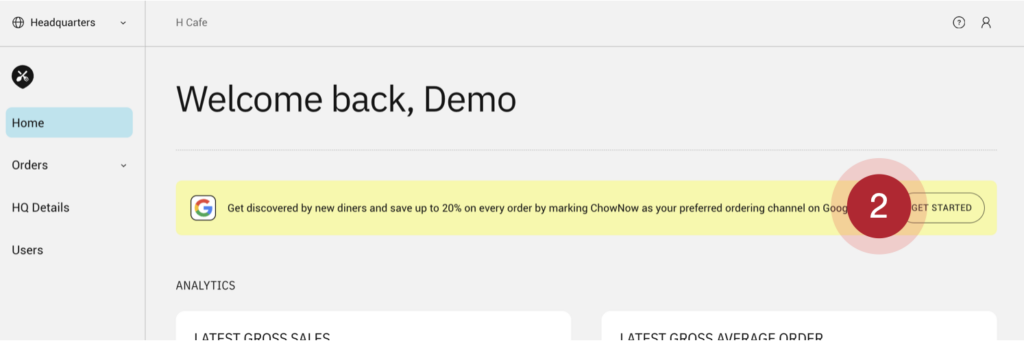
- Login to the ChowNow Dashboard.
- You will see a yellow bar if Google isn’t currently configured, click on the “Get Started” or click here.
![]()
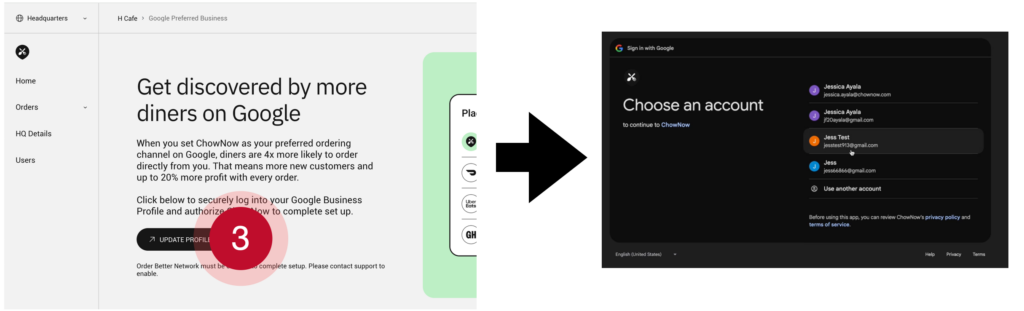
- Click “Update Profile” and you’ll be taken to a Google authentication page, select the Google account associated with your restaurant locations.
![]()
- Note for Multi-locations: If some of your locations are paired across different Google accounts, first, connect the account with the most locations. Then follow the steps again to pair additional Google accounts until all the locations are connected.
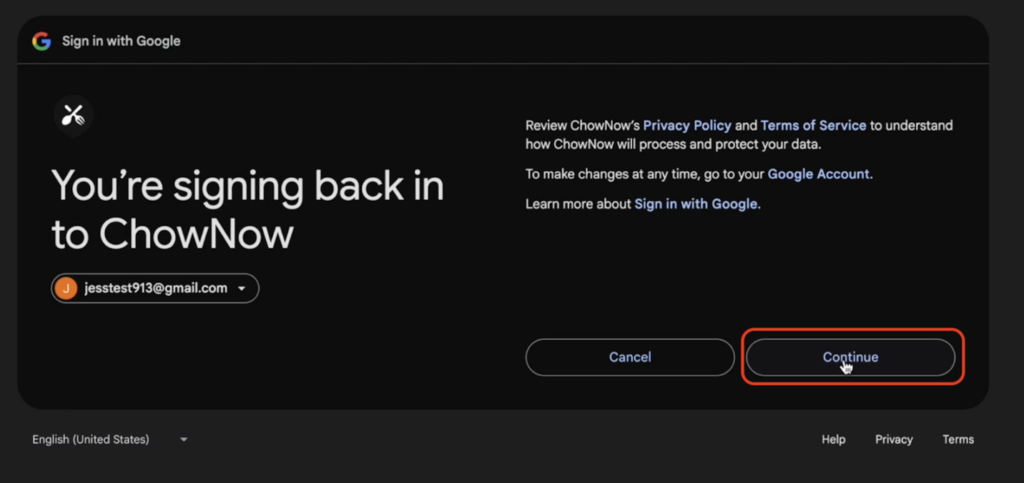
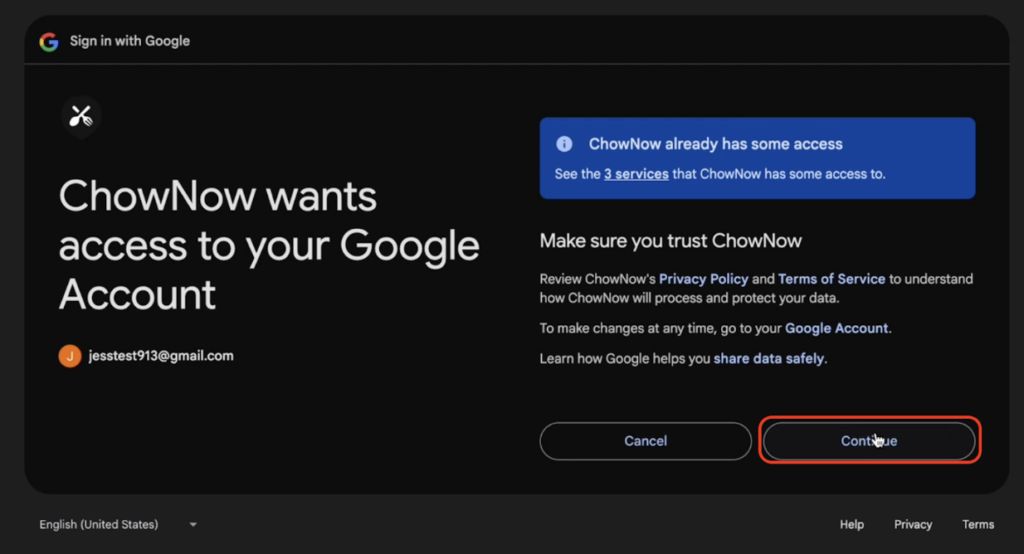
- Click “Continue”
![]()
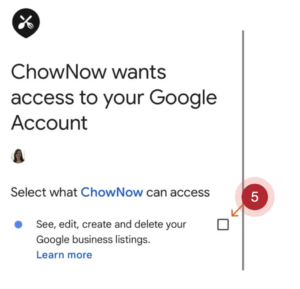
- Check the box next to “See, edit, create, and delete your Google business listings”
![]()
- Click “Continue” on the final confirmation page.
![]()
- Done! ChowNow will now automatically configure the Preferred by Business settings for all the associated locations for this Google Account. If you have locations associated with different Google accounts, do these steps again, with each different Google account, until every location is linked to ChowNow.