Tutorial: How to Enroll Your Restaurant in ChowNow’s Apple Developer Program (Canada)
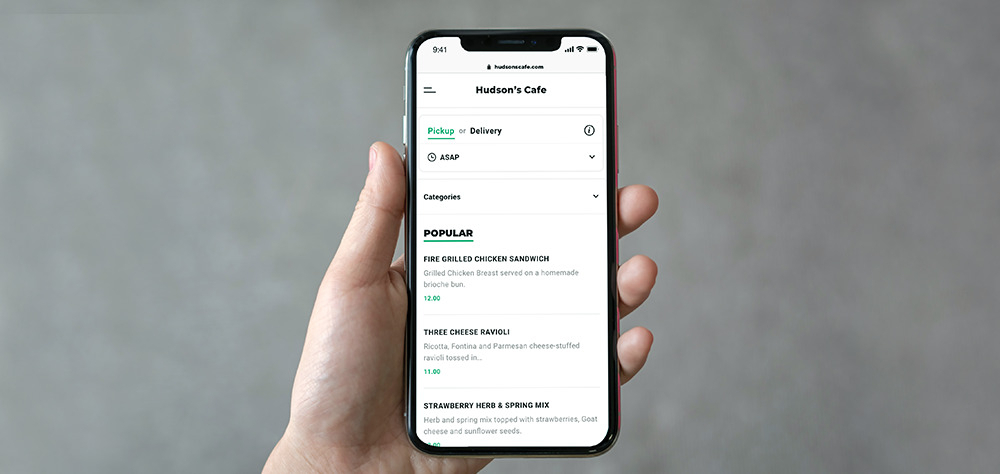
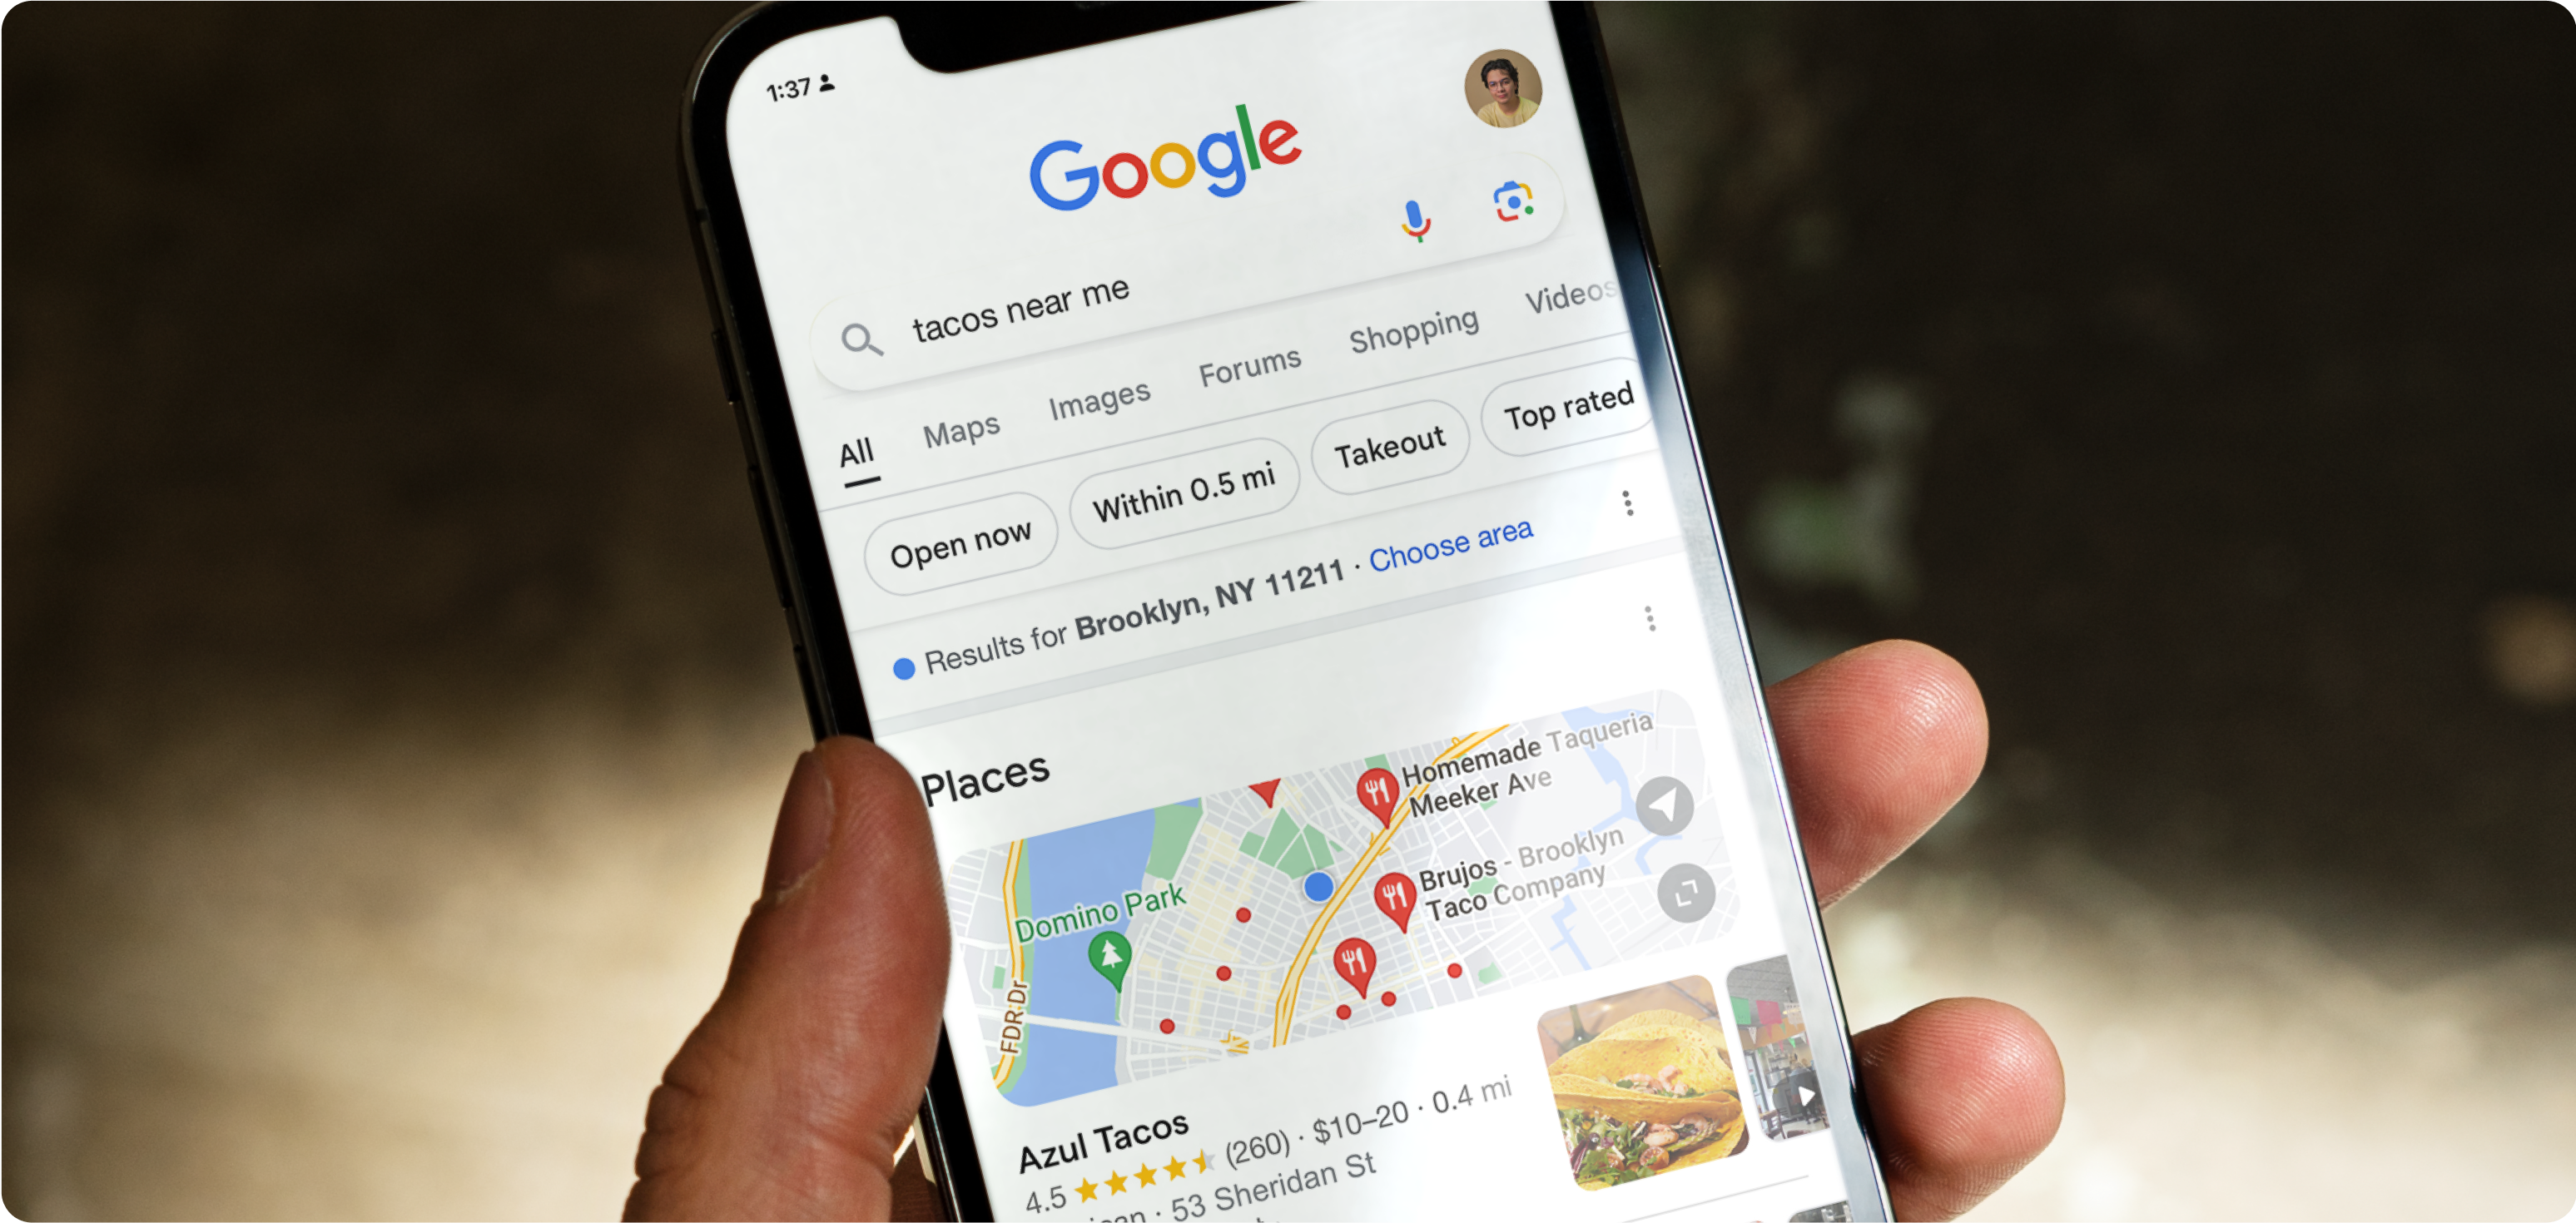
Eager to establish a stronger connection with your customers and increase repeat orders? Get your very own branded mobile app to put your menu in their hands, wherever they are.
After signing up with your Restaurant Success Manager or Account Coordinator, you can follow the guide below to get a branded iPhone app, built and developed by ChowNow.
Please Note: These instructions are specifically for Canadian restaurant partners. If your restaurant is located in the USA, please view the relevant guide here.
Additionally, if you already have an Apple Developer account linked to your restaurant brand, please skip to Step 5.
Step 1: Prepare your business domain email and business’s DUNS number.
You should have already had a call with our in-house App Specialist before following the steps in this tutorial. If you haven’t scheduled a call, please refer to the email we sent you to schedule a phone appointment.
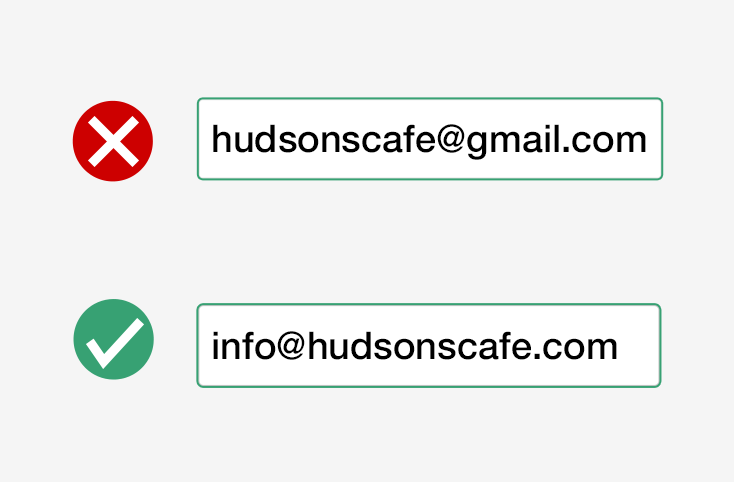
- Have your restaurant domain email address ready: Use an email address you frequently access with a business domain (i.e. name@business.com). This cannot be a Gmail, Yahoo, Hotmail, other domain.
- Please note:If you do not have a business domain email address, you cannot enroll in the Apple Developer Program until you create one. If you do not have one, please contact your ChowNow App Specialist directly to provide you options on how to purchase one.
- Look Up Your DUNS number: A DUNS number is a unique nine-digit identifier for businesses. Don’t know if you have a DUNS number? Simply search for it here by using your restaurant address or phone number. If you need to create one, it’s easy to do so and free of cost. Just click here to get started.
- Please note: Please take the “registration name” your DUNS number is under (whether it’s your restaurant’s name or LLC name) and email it over to your App Specialist, as the ChowNow team will need it for their records.
Step 2: Create a business Apple ID.
Please note: If you already have an Apple ID using your business domain email, please skip to Step 3.

- Create an Apple IDusing your business domain email address (i.e. info@hudsonscafe.com).
- Once you fill out the form to create an Apple ID, Apple will send a verification email to your Apple ID email address with a 6-digit confirmation code. Once you receive this email, enter this code into the web form.
- Finally, click on ‘Verify’ to create your Apple ID.
- Please note: If you are not able to create an Apple ID after inputting the verification code, it is most likely due to Apple’s hours of operation. If this occurs, please contact Apple Support directly at 1-800-275-2273 in order to resolve the problem.
- Apple requires two-factor authentication to be turned on to enroll in the Apple Developer Program. It is important to point out that this is different from two-step authentication. In order to get past this step, you must use an Apple product—either an iPhone, iPad, or iPod touch with iOS 9 and later, or a Mac with OS X El Capitan and later. We recommend using an iPhone if available.
- Please Note: You can also use a co-worker’s Apple device to complete this step! If you cannot get access to an Apple device, please let your App Specialist know, and we can assist you with this step.
- On your trusted device, please go to “Settings” and select on your name (the top box). Scroll to the bottom of the Apple ID page and select “Log Out.” When it issues a prompt that says, “Merge Accounts,” we recommend selecting “Yes” to avoid losing your personal data.
- Once you log out of your personal ID, sign in again using your business Apple ID.
- After you’ve logged in with your business Apple ID, select “Password & Security”under the Apple ID tab.
- Next, simply tap ‘Turn on Two-Factor Authentication’ and select continue. A code will be displayed that you will then input into your Apple Developer form in order to complete this step.
Step 3: Using your newly created Apple ID, complete your Apple Developer form.
- Sign in with your Apple IDonto the Apple Developer page.
- Select “Company/Organization” from the Entity Type dropdown.
- Please note: DO NOT select “Individual/Sole Proprietor/Single Person Business.”
- Confirm that you have the authority to sign legal agreements on behalf of your organization.
- When it asks for your organization’s phone number, we recommend inputting your cell phone number rather than the restaurant line, as this will be the easiest way for Apple to contact you.
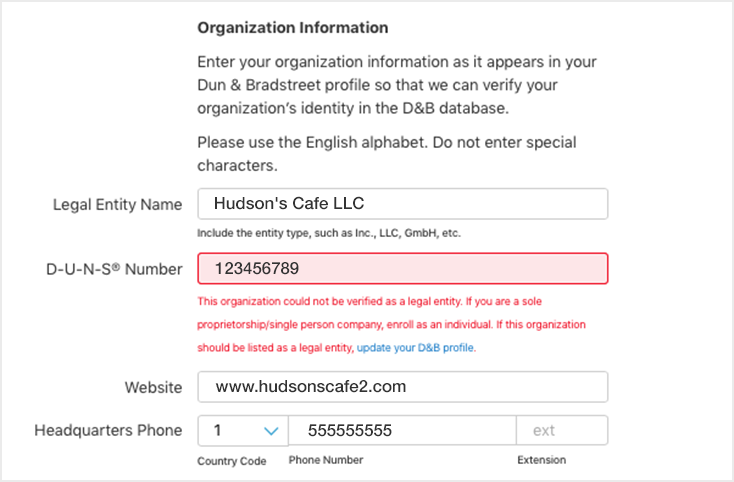
- Proceed to filling out the ‘Organization Information’ section. Here, you will input your restaurant’s DUNS number.
- Please Note: After you input your DUNS number, there is a possibility that an error message will be prompted that states, “This organization could not be verified as a legal entity…” This is very common. If you experience this error message, please click “update your D&B profile” (image below). After you submit this update, it normally takes D&B about 14 days to update the DUNS number. This developer form and process has to be put on hold at this point until the updated DUNS number is received—though please make sure to contact your App Specialist, letting them know this error was encountered and the update was submitted.
Step 4: Verify your Apple Developer account.
- Receive a phone call from Apple: Once you submit the enrollment form, an Apple representative will call the phone number you provided. While on that call, you will need to provide them with the following information:
- Your first and last name
- Date of birth
- A secondary contact person for this Apple Developer account
- Please Note:If you do not hear from them within 24 hours, we recommend logging back into your Developer account and requesting a call from Apple in order to speed up this process. To do so, you can simply select the “contact us page, “development & technical,” “developer forum issue,” and select on request call.
- Receive an email to accept terms: After the successful verification call, you will receive an email from Apple containing a license agreement. Select “Review Now” in the email and continue through the terms. After agreeing, you will automatically proceed to the payment page.
- Complete your payment for the Apple Developer Program: You’ll see a final cost of $99 and have the option to select auto-renewal for this annual $99 fee for your developer account — we highly recommend choosing this option to ensure your app does not get removed from the App Store. Select “Purchase” and confirm your login information to submit your billing information and complete the developer process.
Step 5: Invite ChowNow as a contributor.
- First, invite ChowNow to your new App Store Connect account.
- Log into App Store Connect with your Apple ID.
- Select “Users and Access” and click on the + symbol to add a contributor. Enter “ChowNow” in the “Name” field, and in the “Email Address” field enter the ChowNow developer email address that your App Specialist provided you in your ChowNow purchase confirmation email.
- Please Note: Be sure to select both “Admin” in addition to “Access to Certificates, Identifiers & Profiles.”

- Second, confirm with your App Specialist that the invitation was received.
- At this point, please call or email your App Specialist in order to make sure the invite was received properly. Once we have received and accepted the invite, we will take it from here to build and publish your app.
That’s it!We will let you know as soon as the app has been published, within 2 weeks of receiving your invite via email. If you have any questions related to this process, please reach out to your App Specialist directly.